


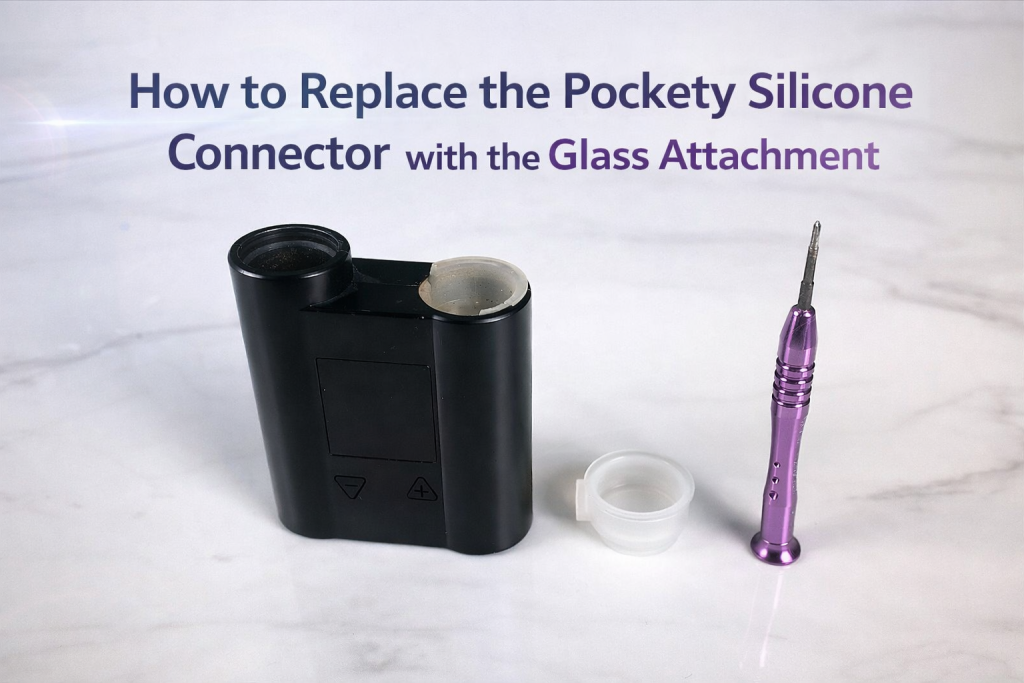
How to Replace the Pockety Silicone Connector with the Glass Attachment

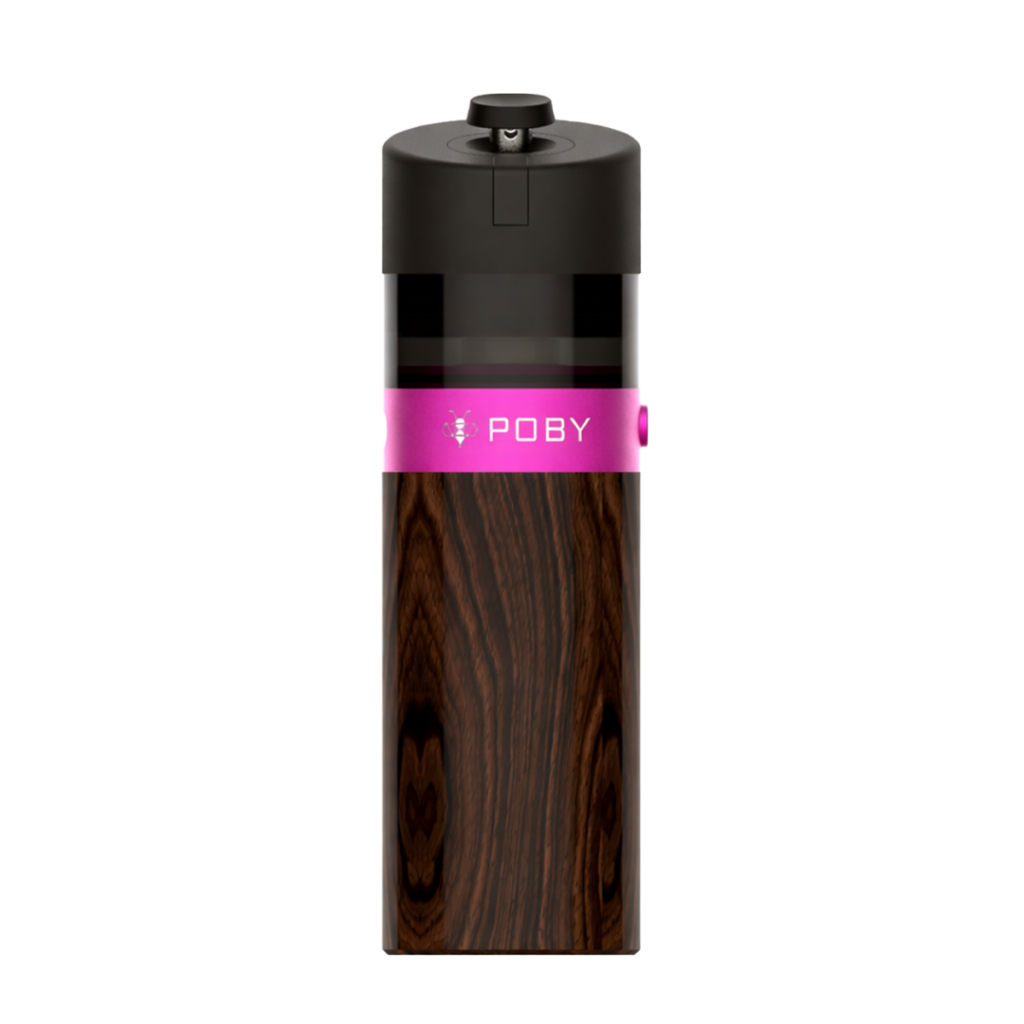
If you are using the JCVAP Pockety, you may eventually need to replace the Pockety silicone connector due to wear from frequent glass insertion and removal. This guide will show you how to replace the Pockety silicone connector with the glass attachment safely and correctly.
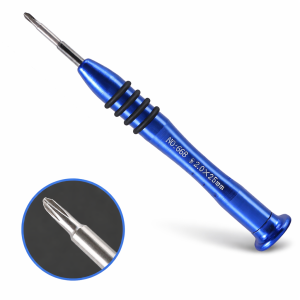
With only a small Phillips screwdriver and a new connector, you can complete this Pockety repair tutorial in just a few minutes.
Tools & Parts You’ll Need
Before starting your Pockety silicone connector replacement, prepare the following:
A small Phillips screwdriver
A clean, well-lit workspace
Important:
Make sure your JCVAP Pockety is powered off and fully cooled before disassembly.
Step-by-Step Pockety Silicone Connector Replacement Guide
Follow these steps carefully to avoid damaging internal components during the Pockety disassembly process.
Step 1 – Remove the Bottom Silicone Pad
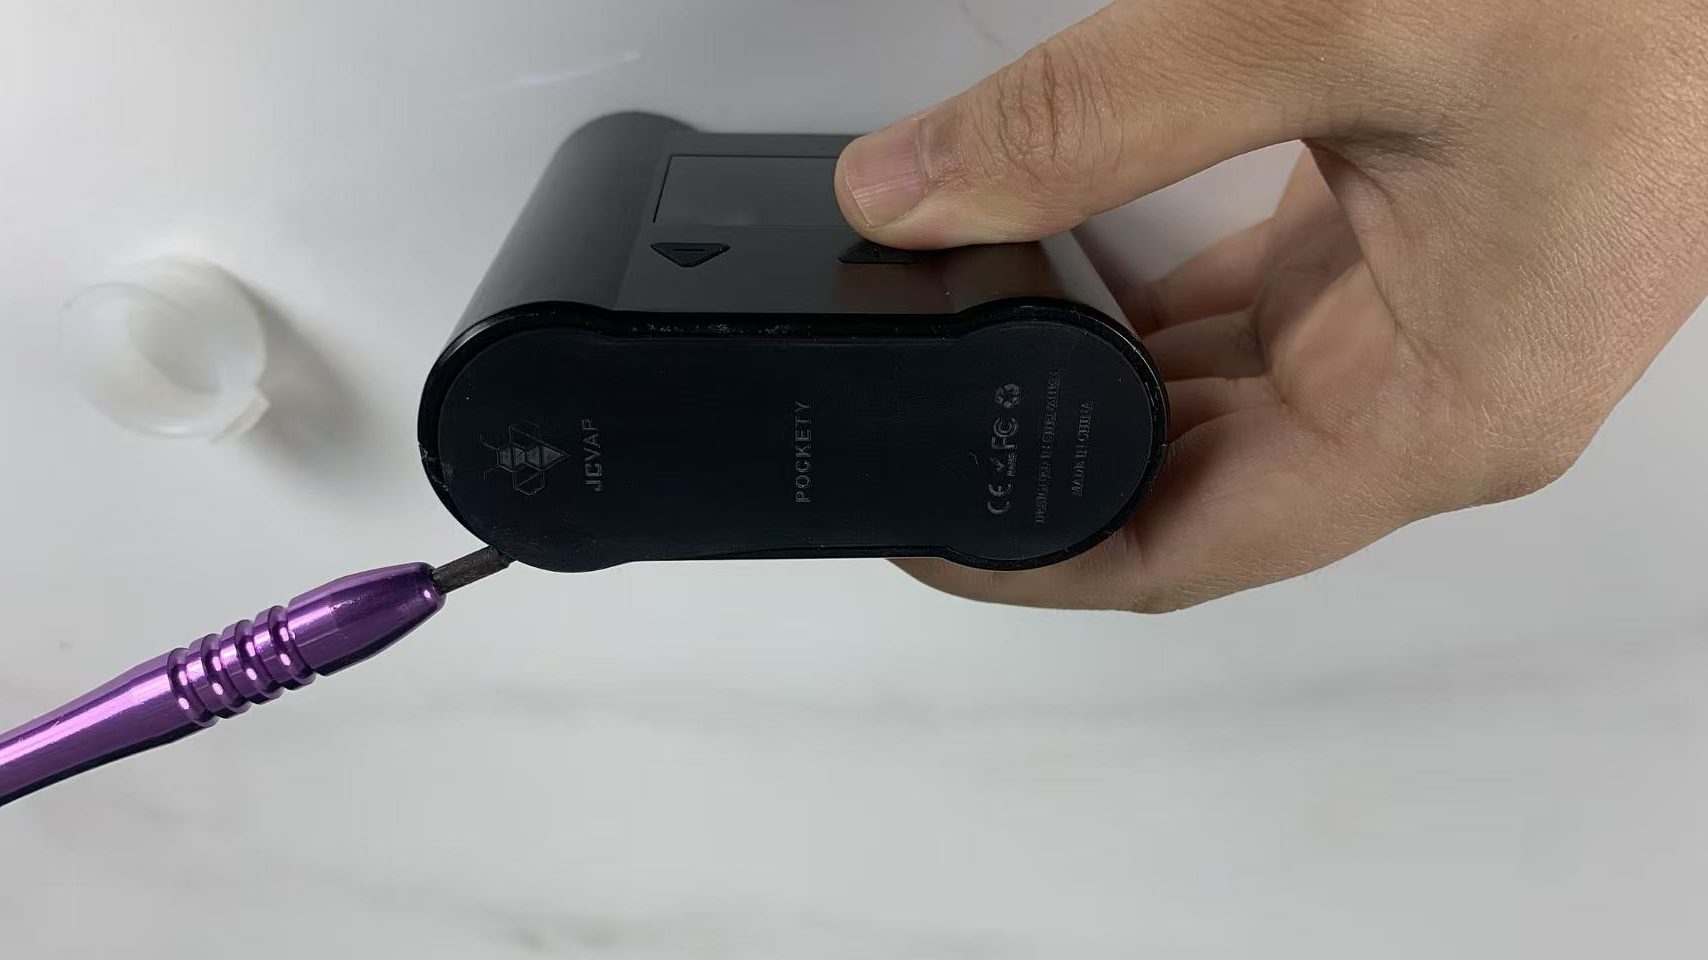
Peel off the silicone pad at the bottom of the device.
If needed, gently insert the screwdriver under the edge to lift it.
Be careful not to scratch the device housing during this step of the Pockety maintenance process.
Step 2 – Remove the Bottom Fixing Screws

Use the Phillips screwdriver to remove the two bottom screws.
Store them safely to prevent loss.
These screws secure the outer shell during JCVAP Pockety repair.
Step 3 – Open the Device Housing
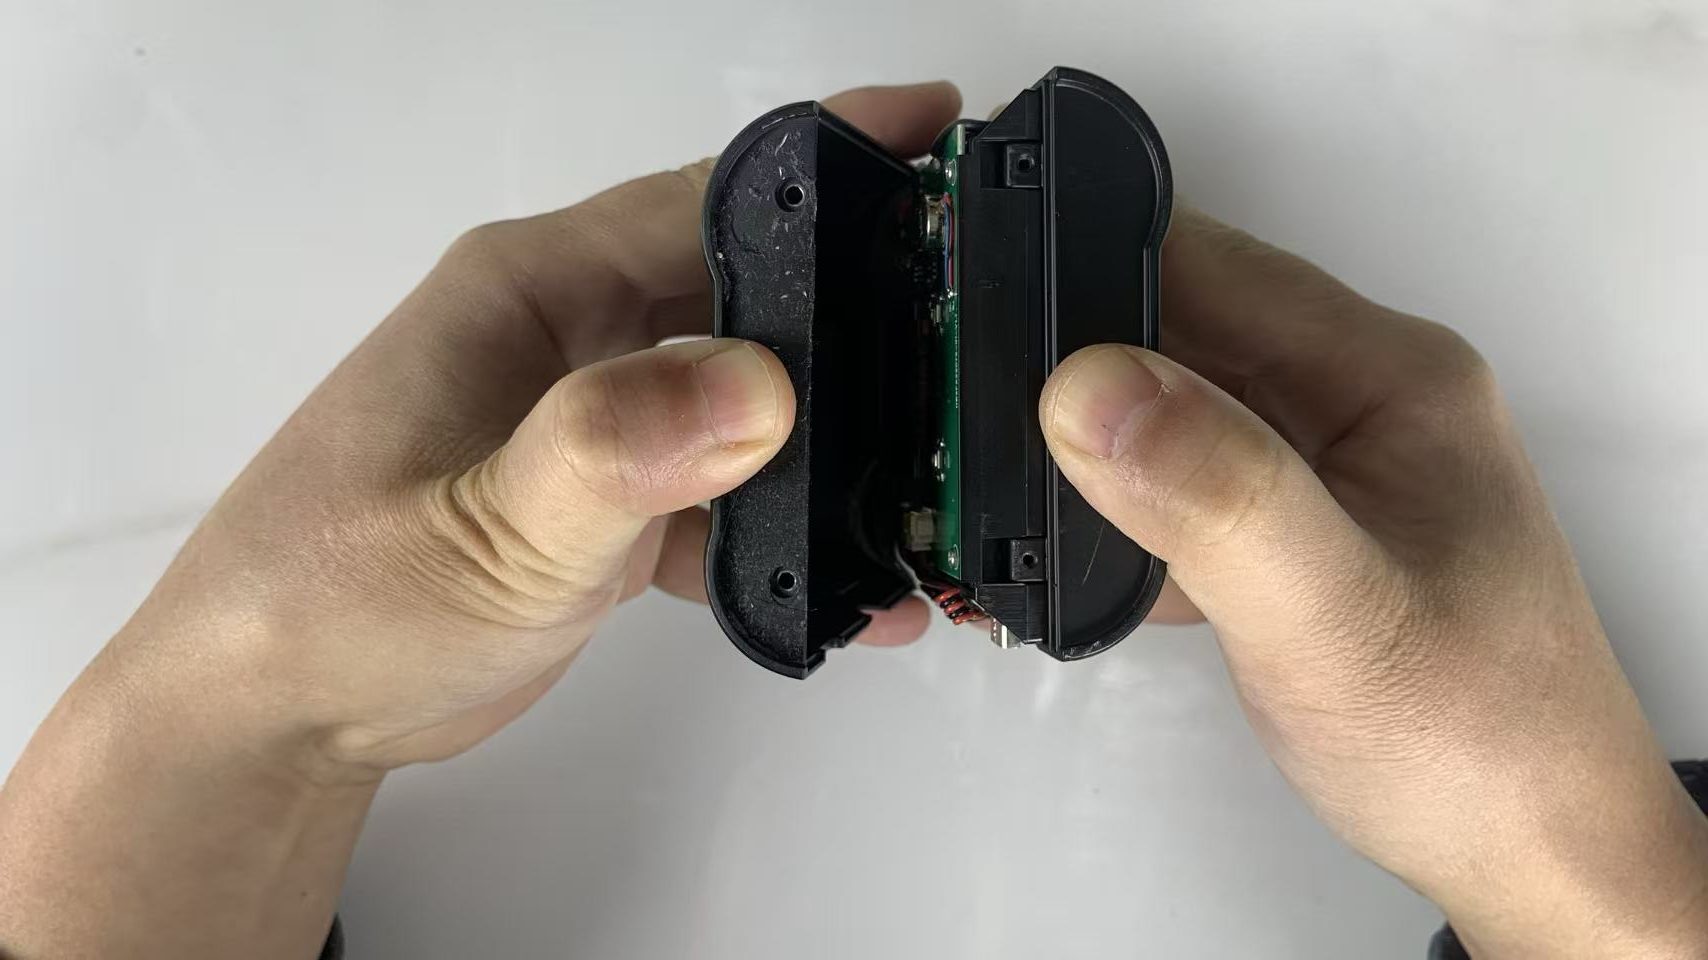
Carefully separate the outer shell from the bottom.
You can slightly loosen the top section at the same time.
Take your time — forced opening may damage internal wiring.
Step 4 – Remove the Circuit Board Screws

Inside, you’ll find the main PCB secured with four screws.
Unscrew them carefully and keep them in a safe place.
This step allows access to internal components for the Pockety silicone connector replacement.
Step 5 – Remove Internal Components
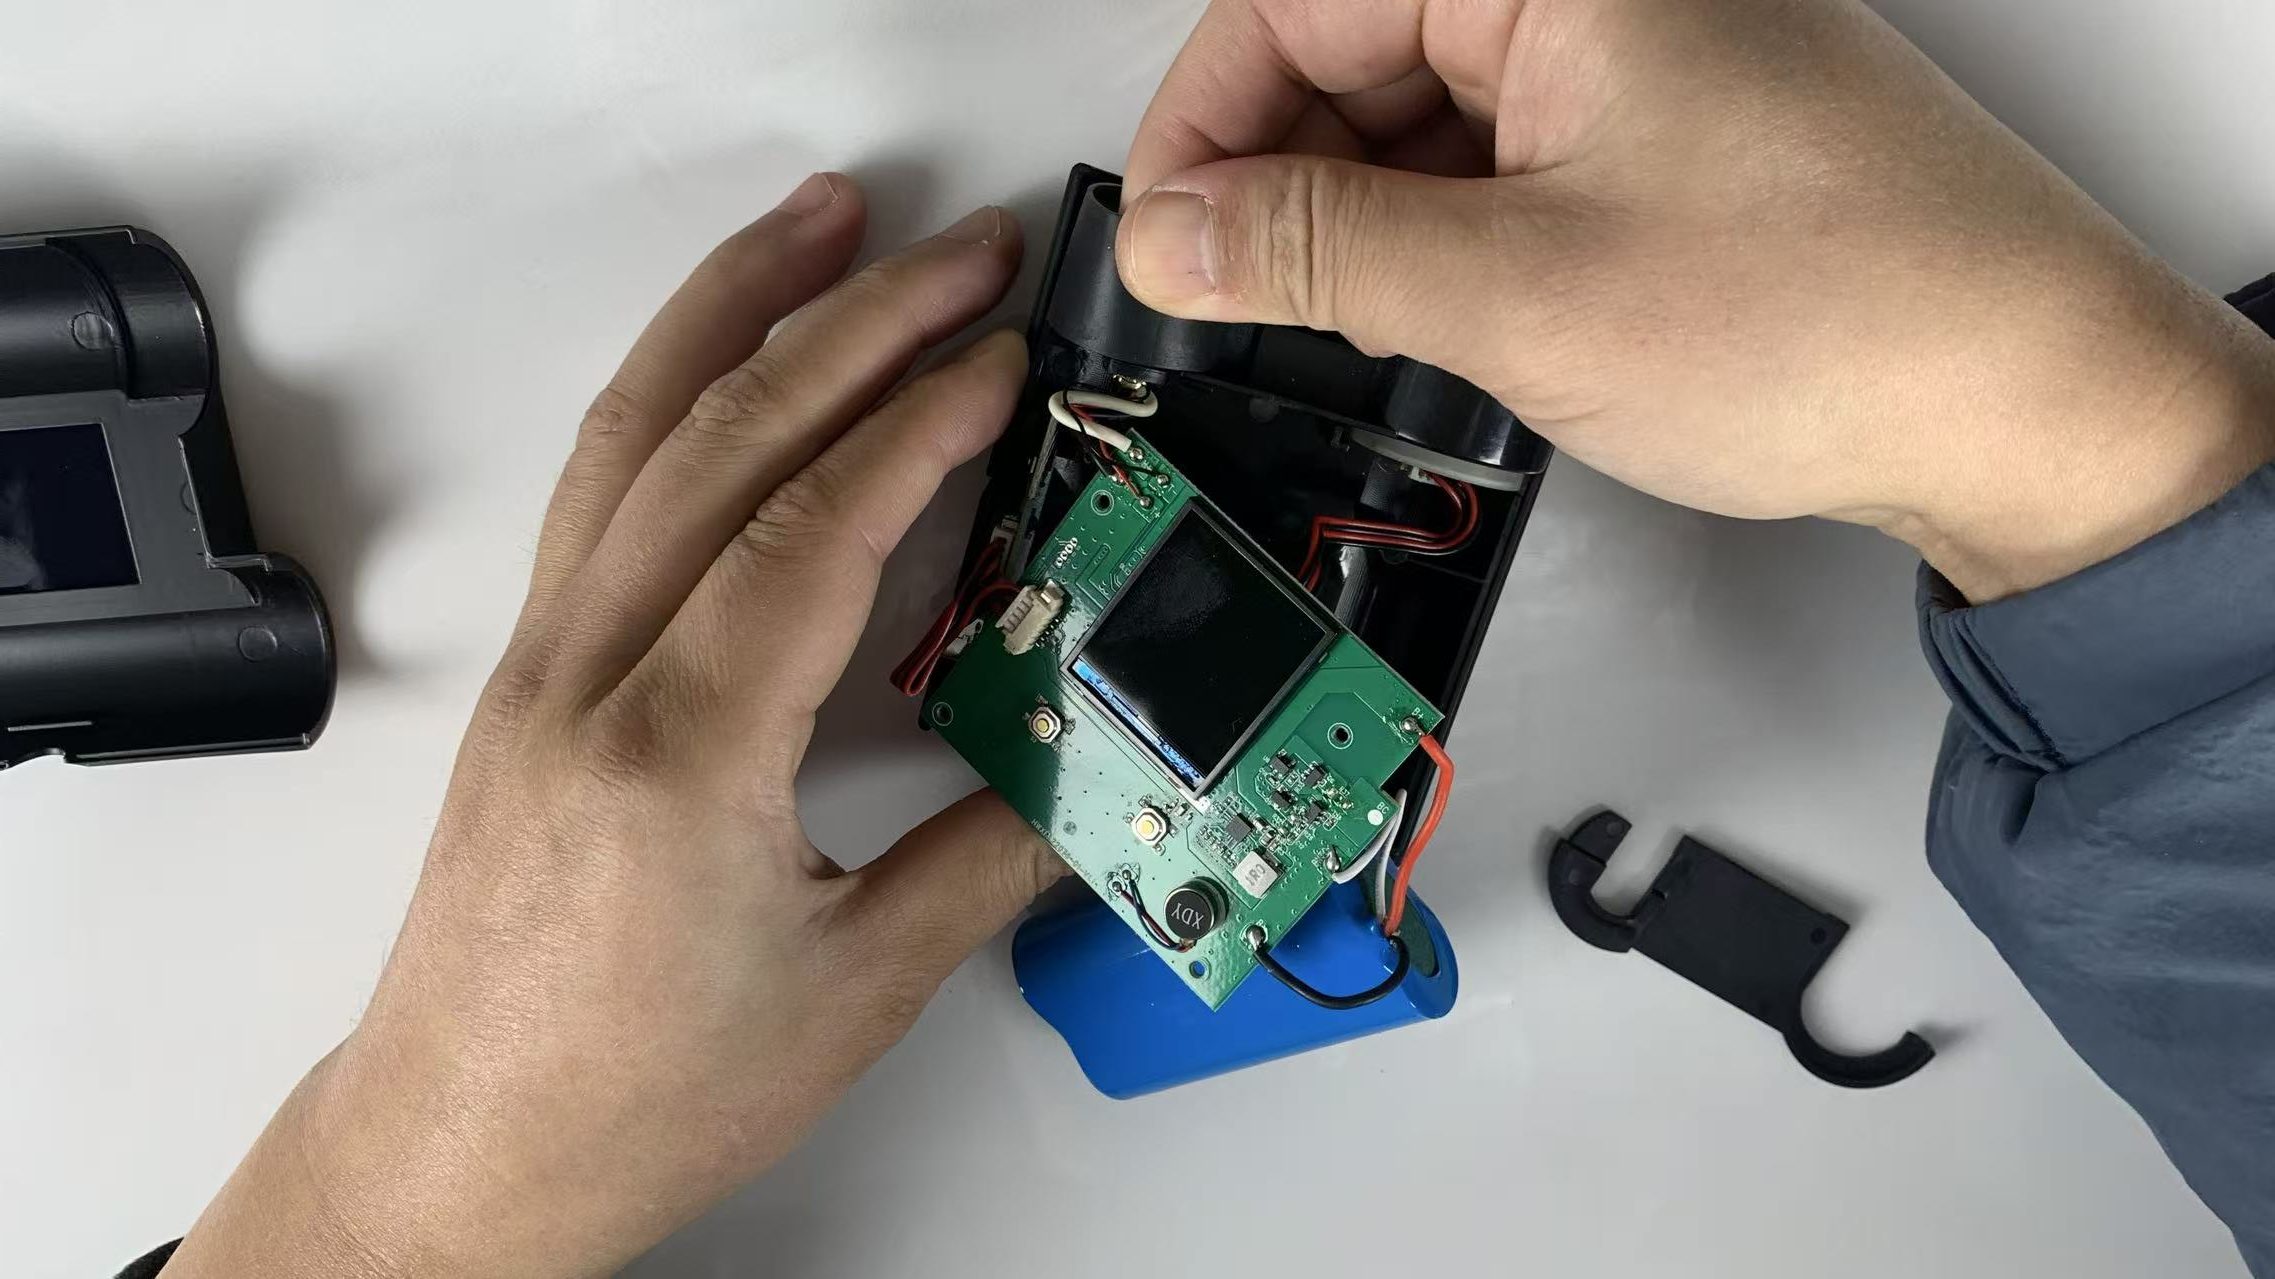
First, remove the LED board clip.
Then gently lift out:
The atomizer silicone holder
The circuit board
The battery pack
Important Tip:
Before removing these parts, take several photos to remember the correct layout and orientation. This prevents mistakes during Pockety reassembly.
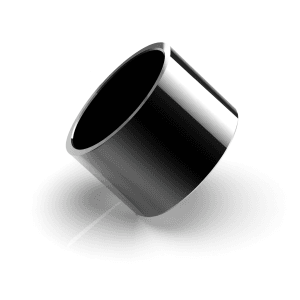
Step 6 – Remove the Old Pockety Silicone Connector
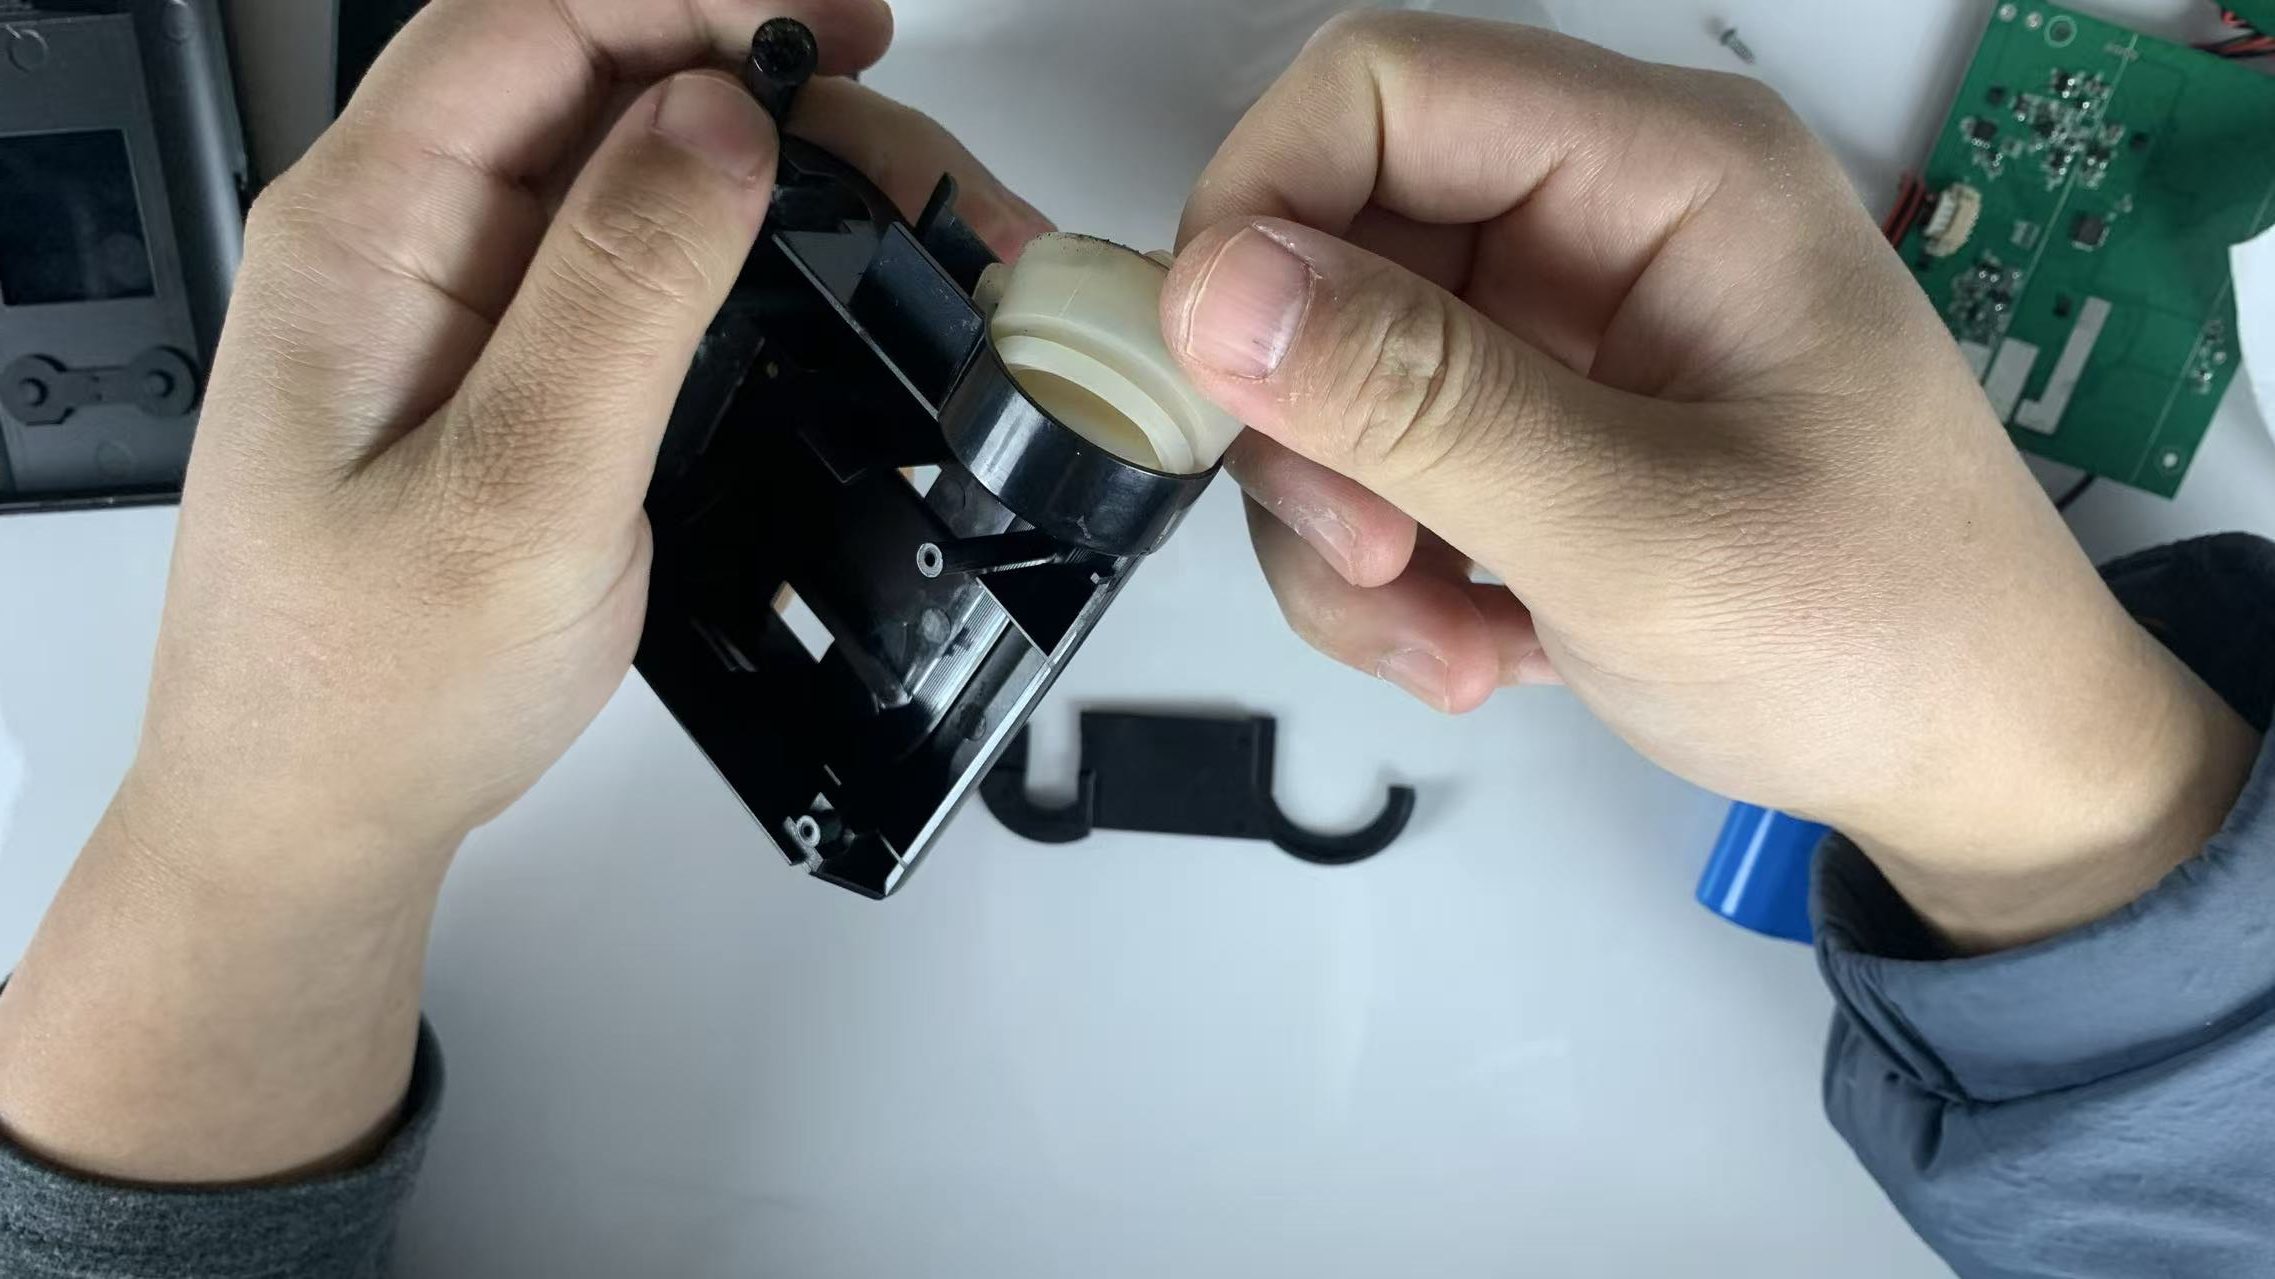
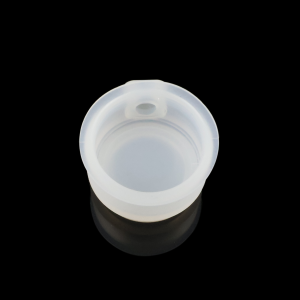
Using your fingers, firmly pull out the damaged Pockety silicone connector.
Install the new connector by pressing it firmly into the slot until it is fully seated in place.
This is the key step in the Pockety silicone connector replacement process.
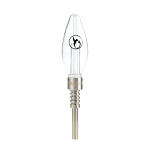
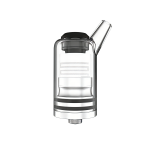
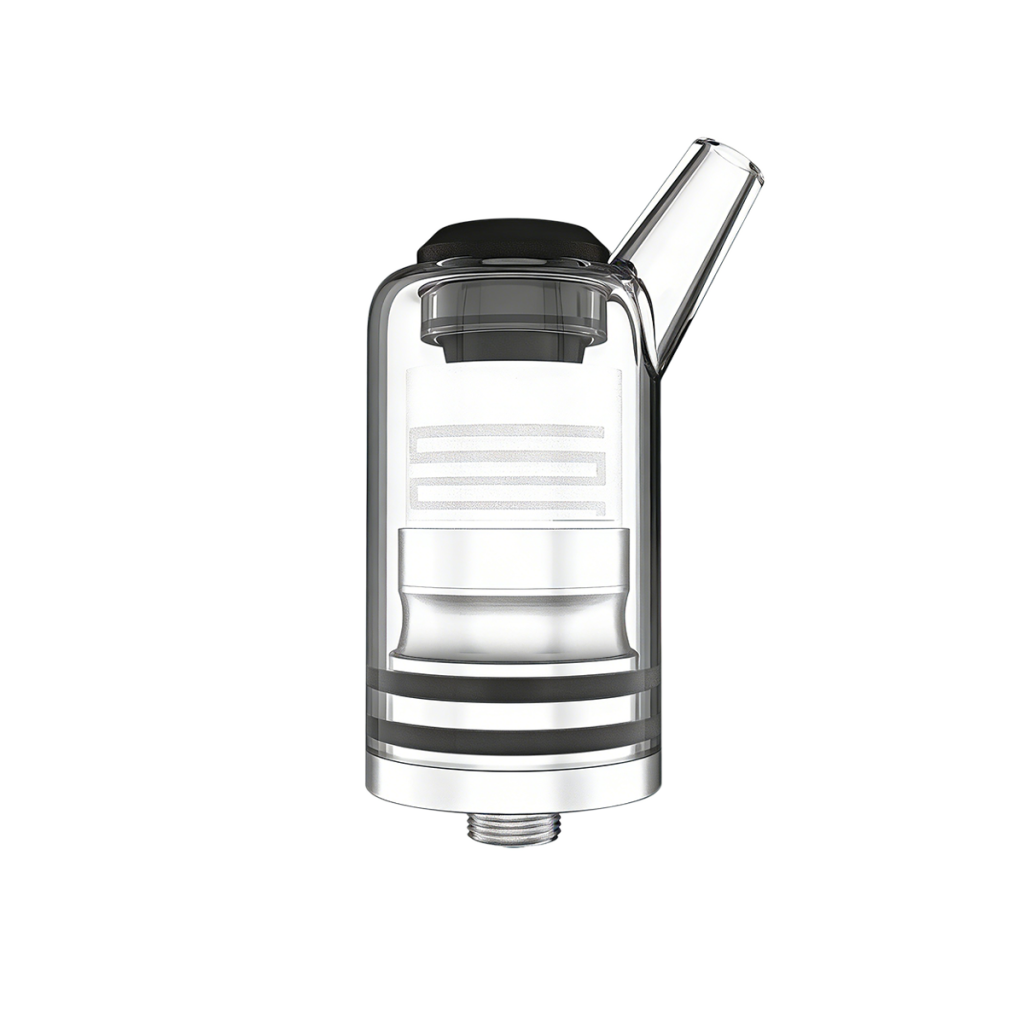
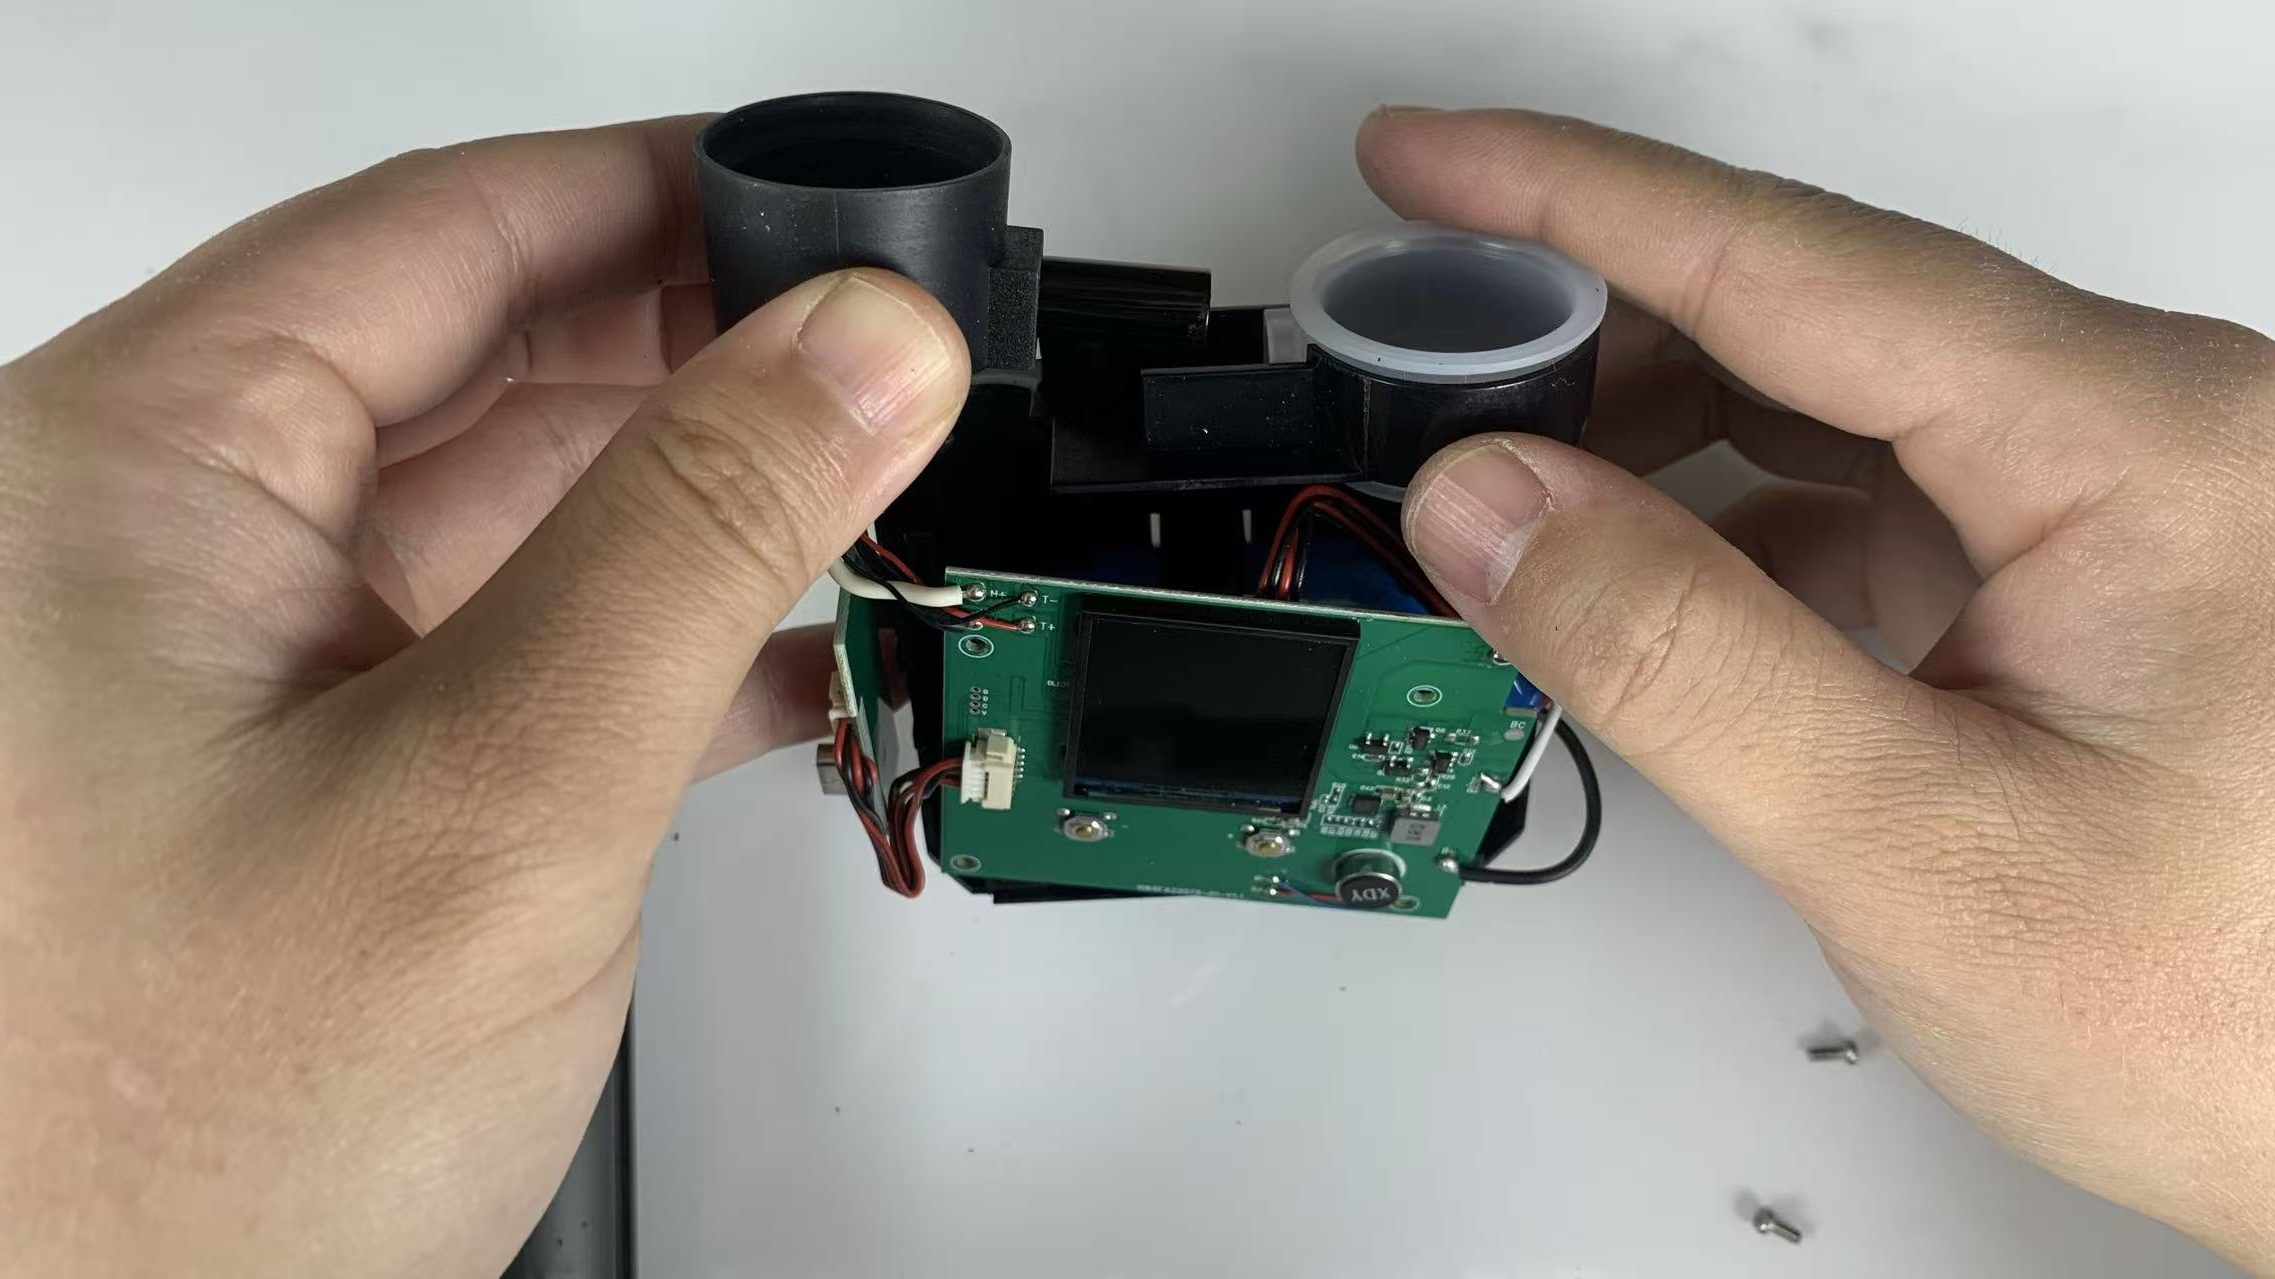
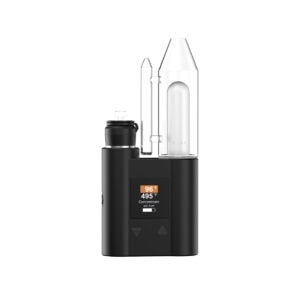
Step 7 – Install the Pockety Glass Attachment

Insert the Pockety glass attachment (black glass connector tube).
Reposition the atomizer silicone holder, circuit board, and battery pack.
Ensure the battery pack snaps securely into its slot.
Step 8 – Reinstall the Atomizer Silicone Clip
Install the silicone fixing clip over the atomizer holder.
This locks the atomizer assembly in position.
Step 9 – Secure the Circuit Board
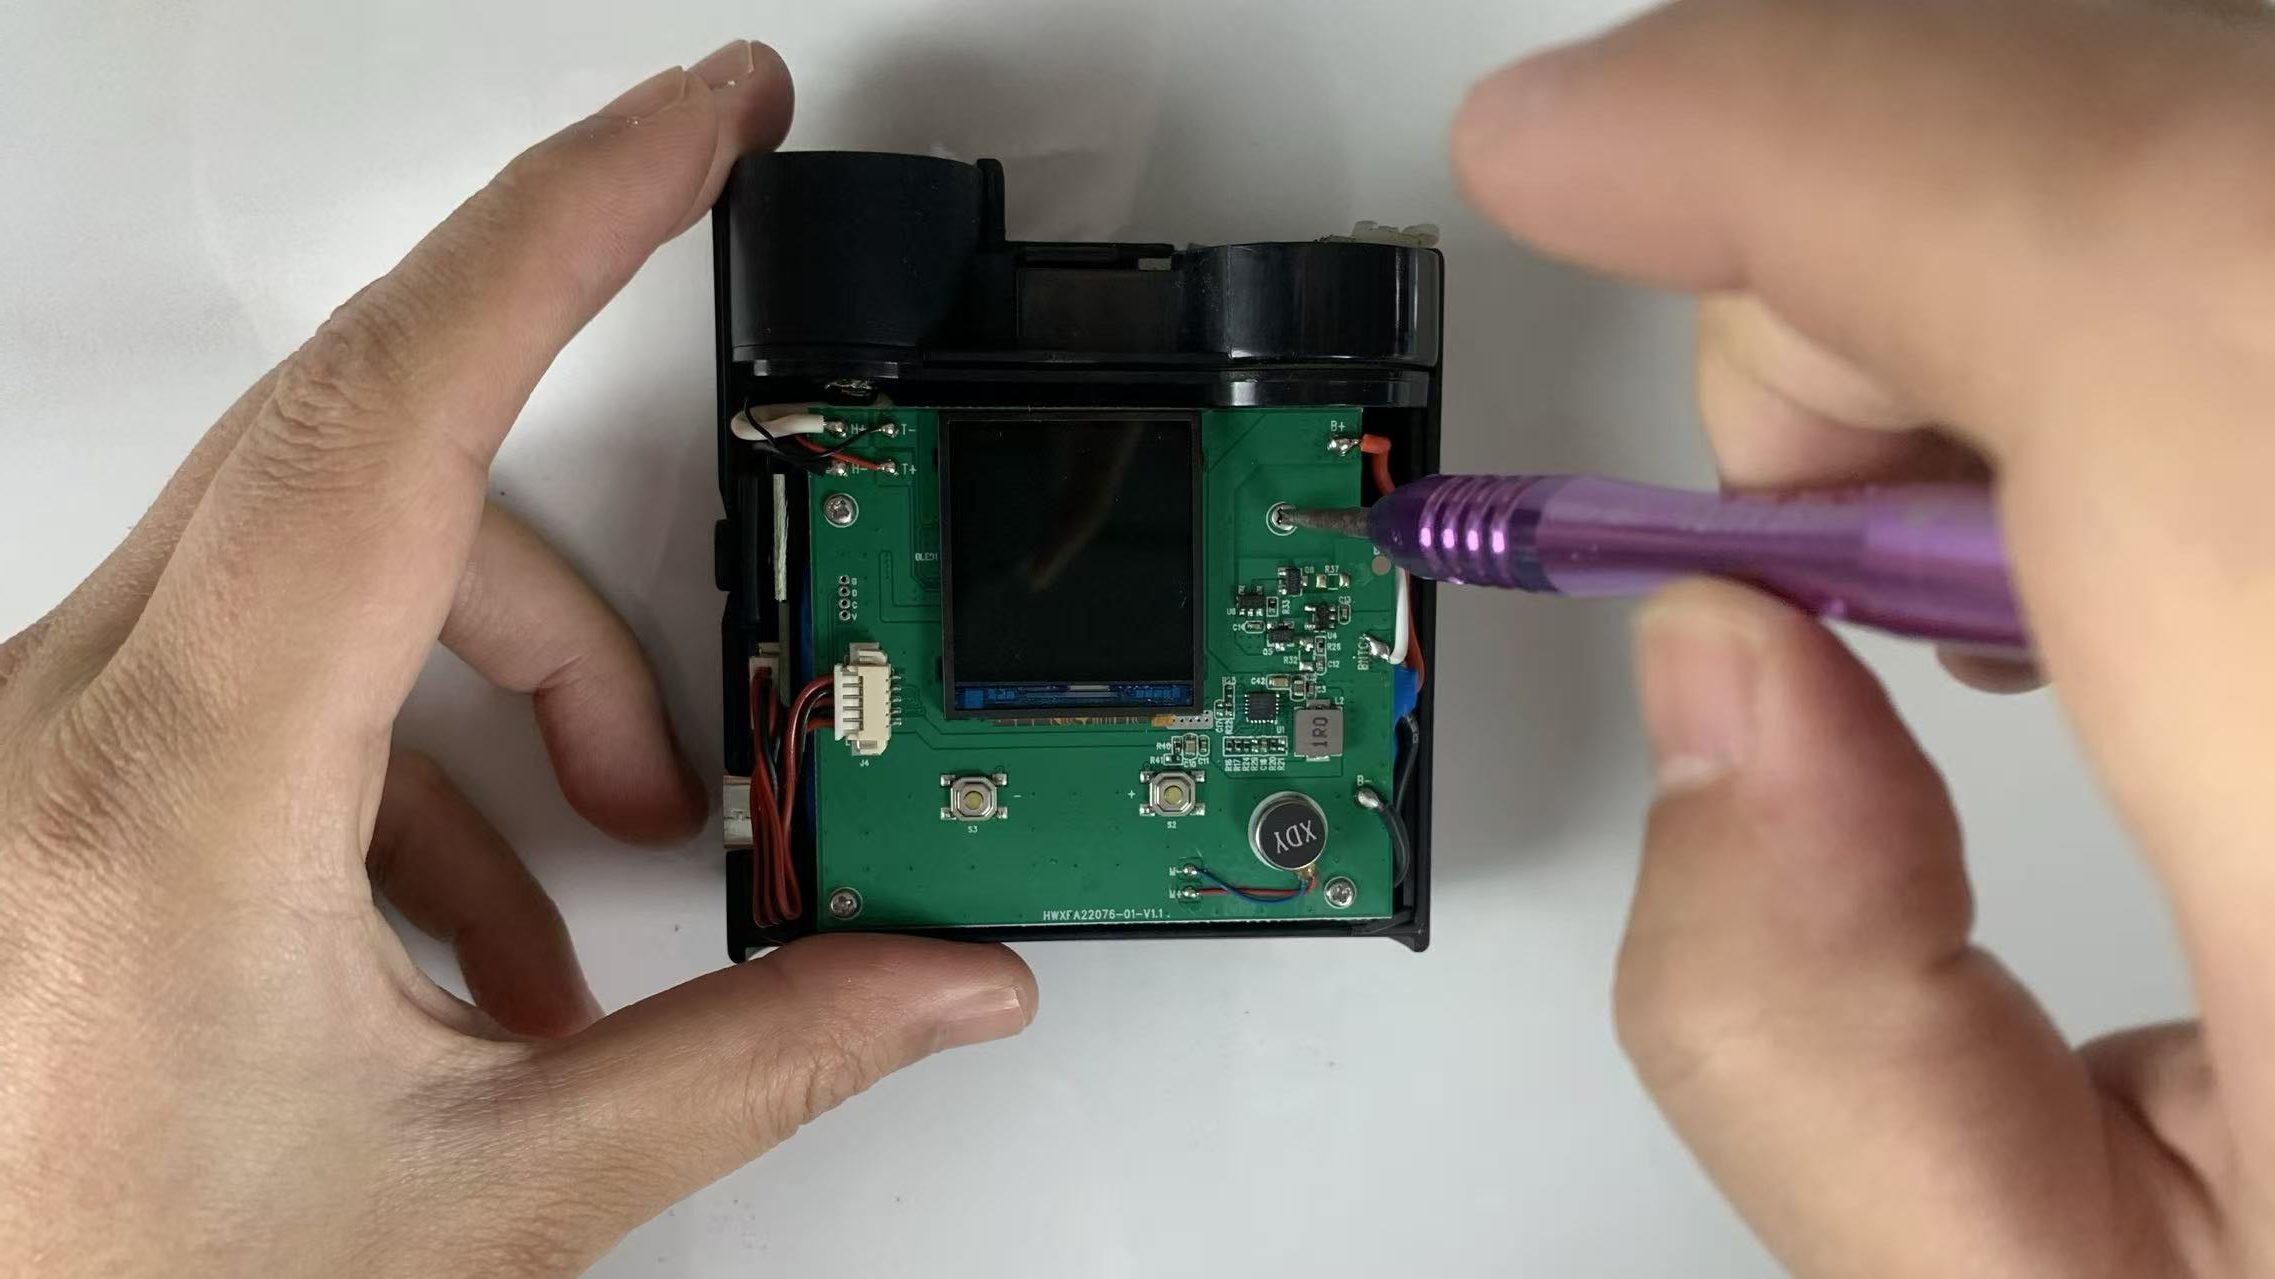
Reinstall the four PCB screws to secure the circuit board.
Double-check that the board sits flat and aligned.
Step 10 – Organize Wires Carefully
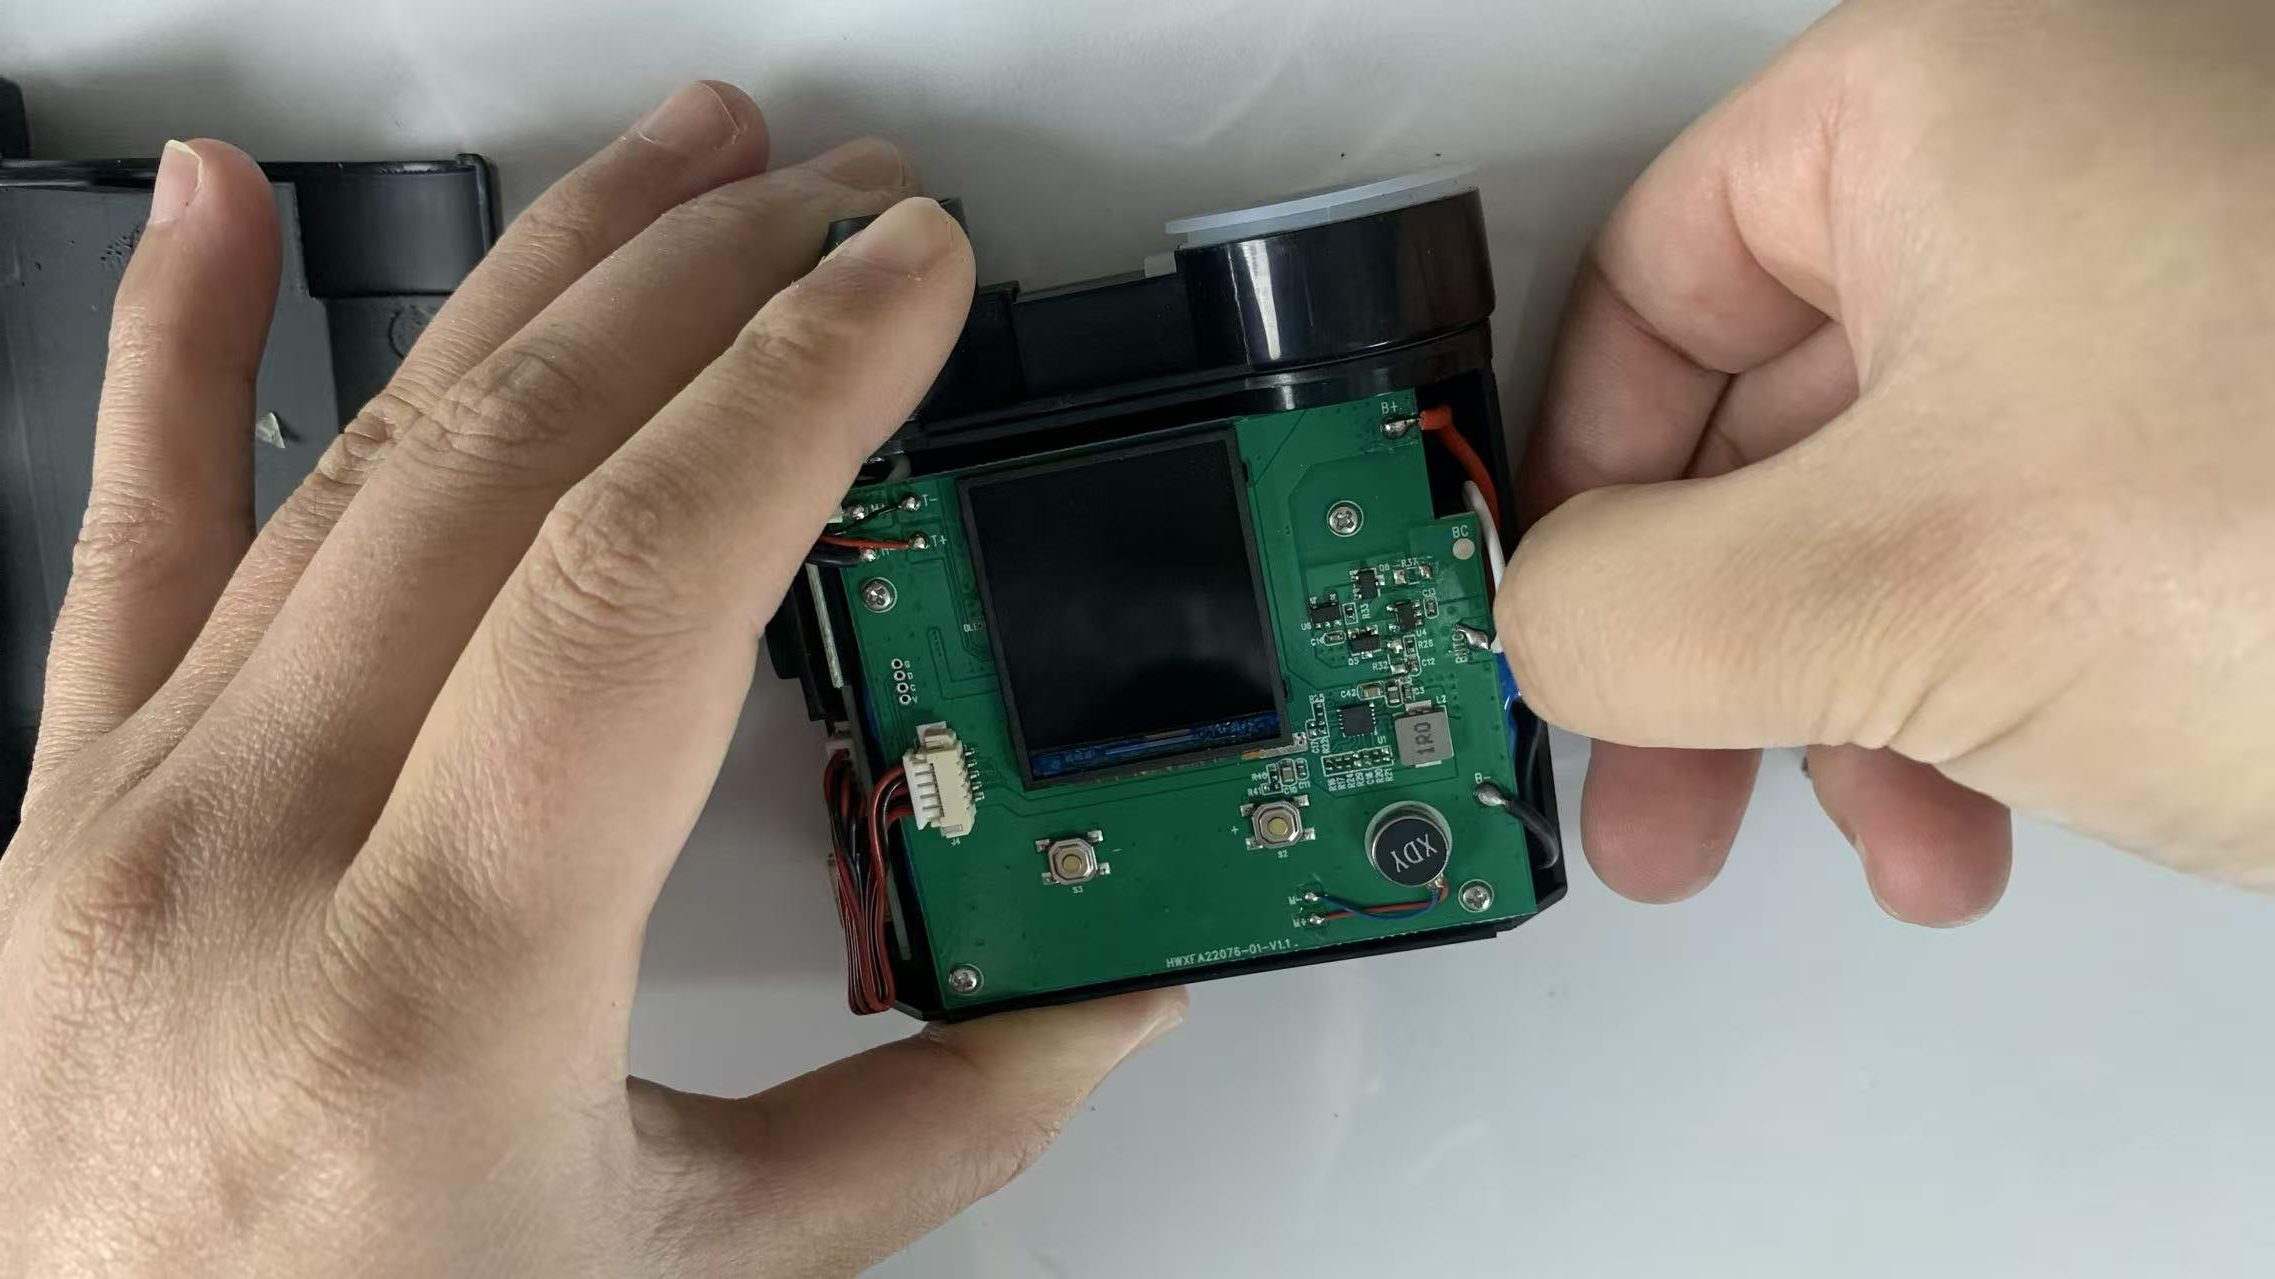
This is a critical step in JCVAP Pockety maintenance.
Tuck battery wires into the plastic support grooves
Check the ribbon cable between the side power board and main board
Make sure no wires are trapped when closing the housing
Poor cable placement may cause device malfunction later.
Step 11 – Close the Device Housing

Close the housing slowly:
Align and close the top section first
Then close the bottom section in the correct direction
Watch both sides carefully to ensure no ribbon cables are pinched.
Step 12 – Final Assembly
Reinstall the two bottom fixing screws.
Stick the bottom silicone pad back into place.
Your Pockety silicone connector replacement is now complete.
Final Notes on Pockety Maintenance
Replacing the Pockety silicone connector is simple when done carefully.
Always work slowly, take reference photos, and avoid forcing parts into place.
Proper JCVAP Pockety repair and maintenance ensures longer device life and a better user experience.
If you need replacement parts or assistance, contact JCVAP Support — we’re always here to help.
-
Sale!
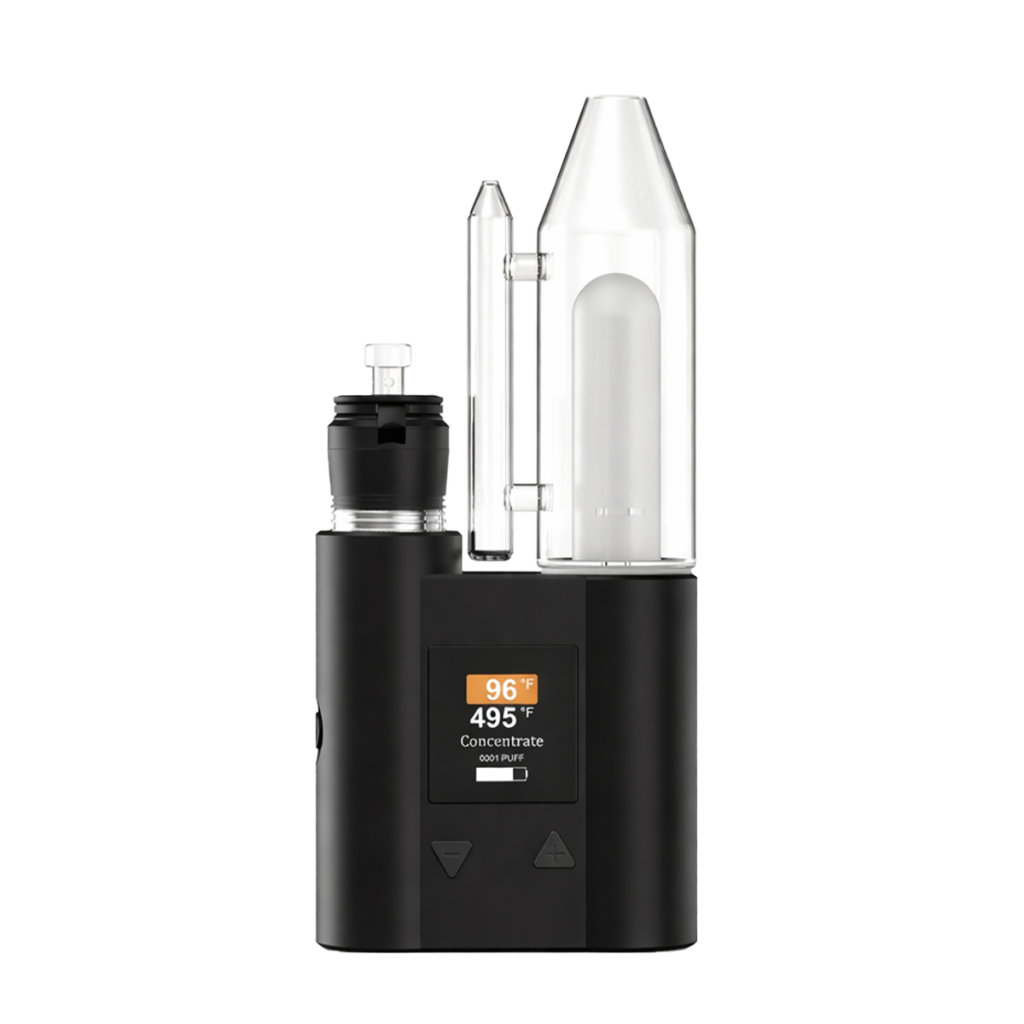
 $136.80 $269.10Price range: $136.80 through $269.10
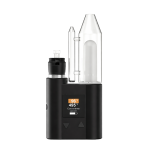
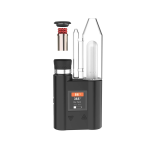
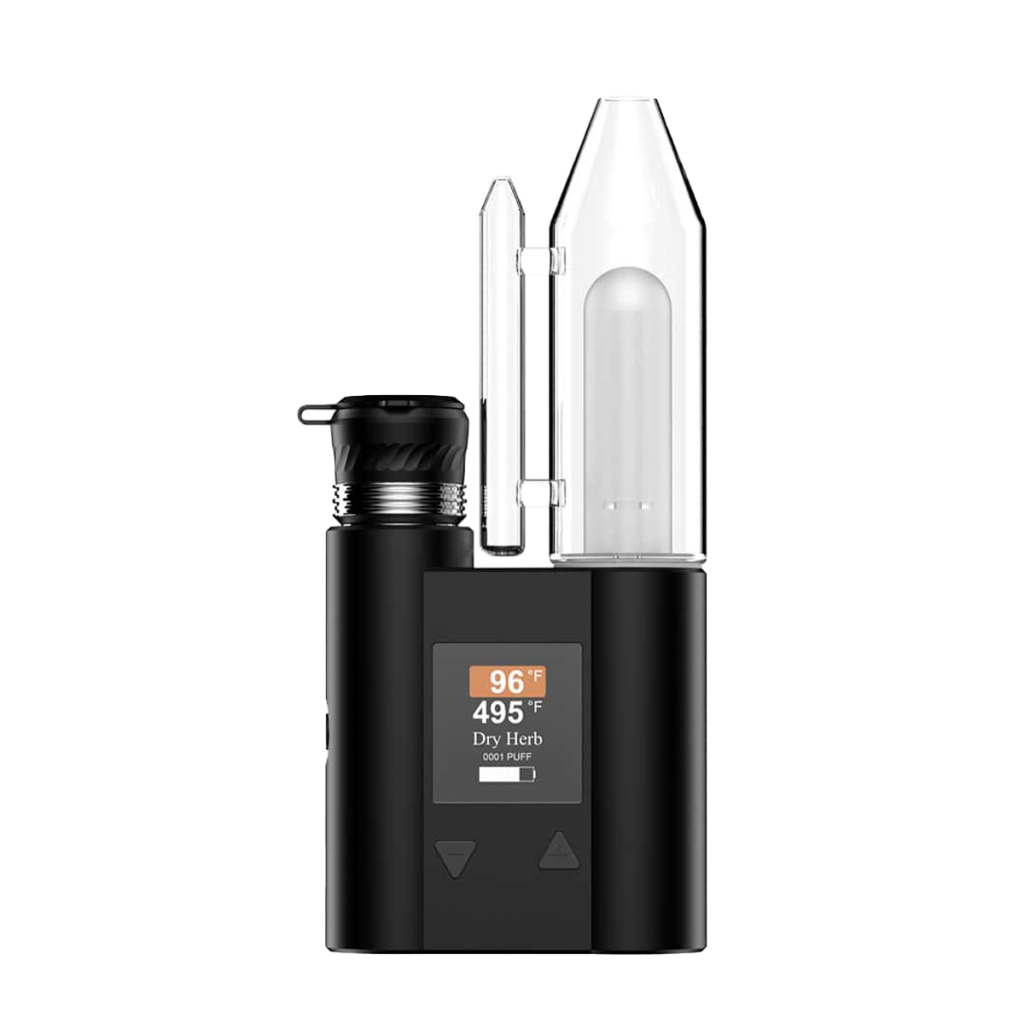
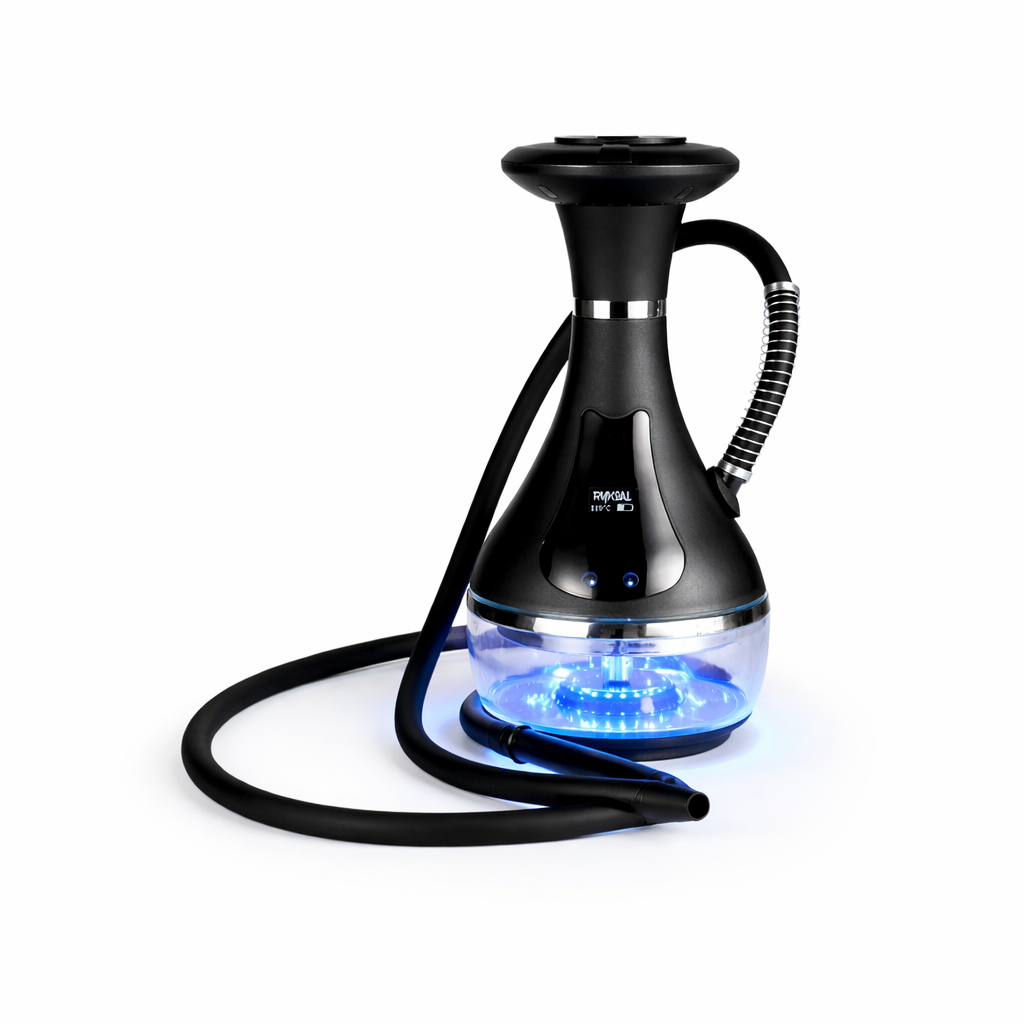
JCVAP Pockety Vaporizer Electric Dab Rig with Two Big 2600mAh Battery
(34) -
Sale!
-
Sale!
-
Sale!